
Configuring iPad Email for Your Hosting Account
This article describes how to configure your iPad Mail for your ConnectNC hosting account. Please substitute your actual email account information wherever we have used yourdomain.com or chilesauce.com as examples.
This is written for an intermediate iPad user. We assume that you understand how to get to your iPad settings, and how to use your iPad to send and receive email. It’s not intended as a training article. If you need configuration or training for your iPad, we offer that as an additional service. Please contact us to schedule an appointment.
In this example, we allowed iPad Mail to use all its default settings. We did not modify anything or have to provide anything except the following three pieces of information.
Information required for mail account configuration:
- Your email address
- Your email account password
- Your email server names (mail.yourdomain.com, where “yourdomain.com” is replaced with your actual domain name)
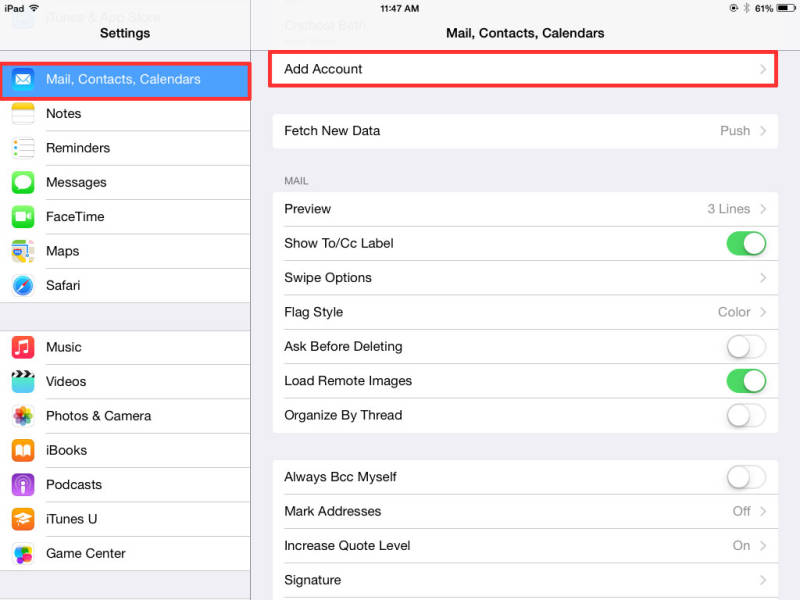
| 1. Go to Settings in your iPad. Tap on Mail, Contacts, Calendars. Tap Add Account. |
 |
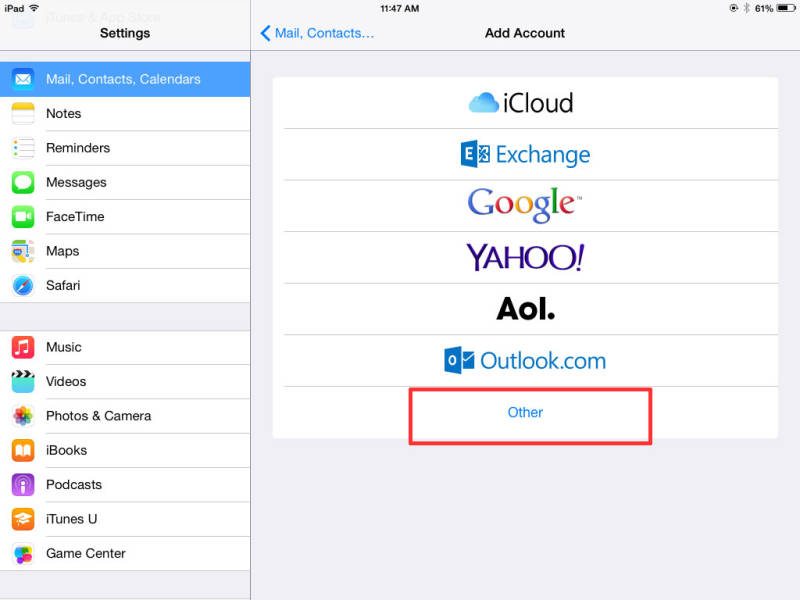
| 2. Tap Other. |
 |
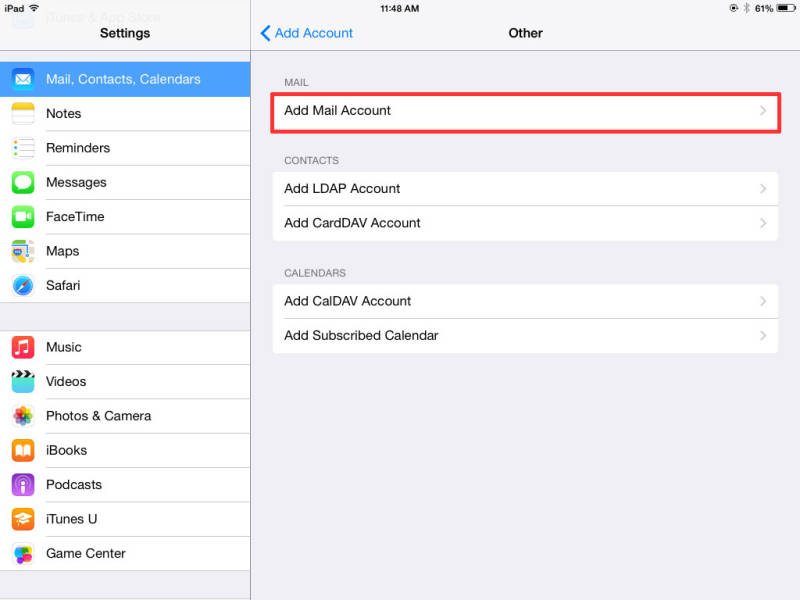
| 3. Tap Add Mail Account. |
 |
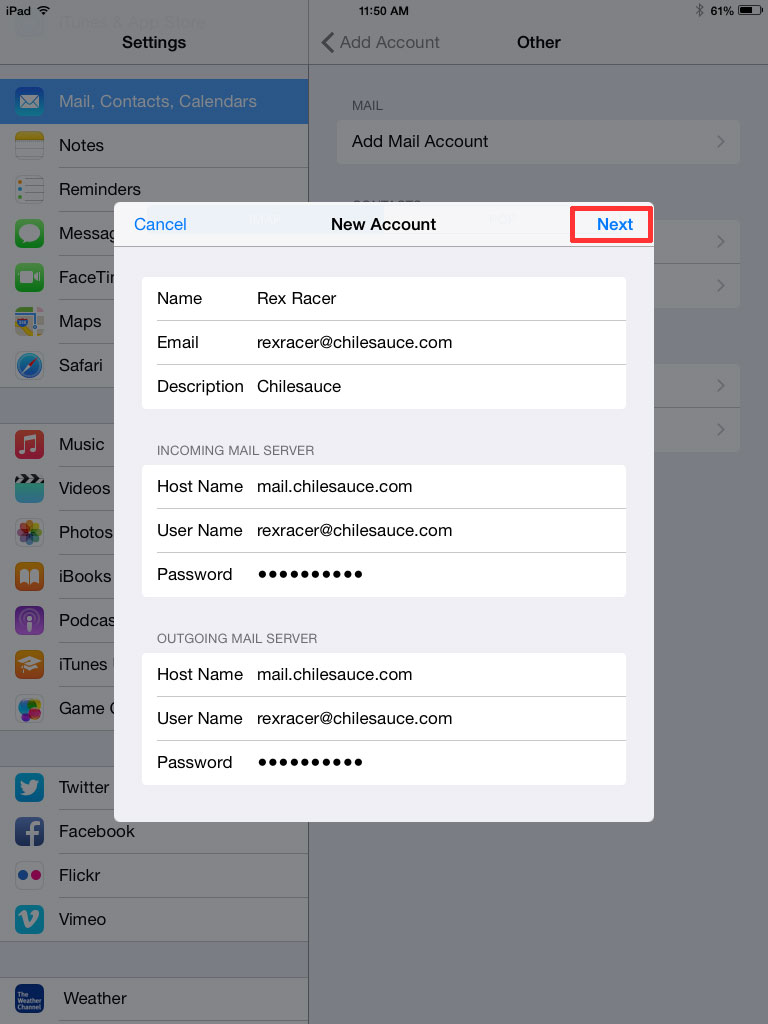
4. Type in your account information.
Tap Next. |
 |
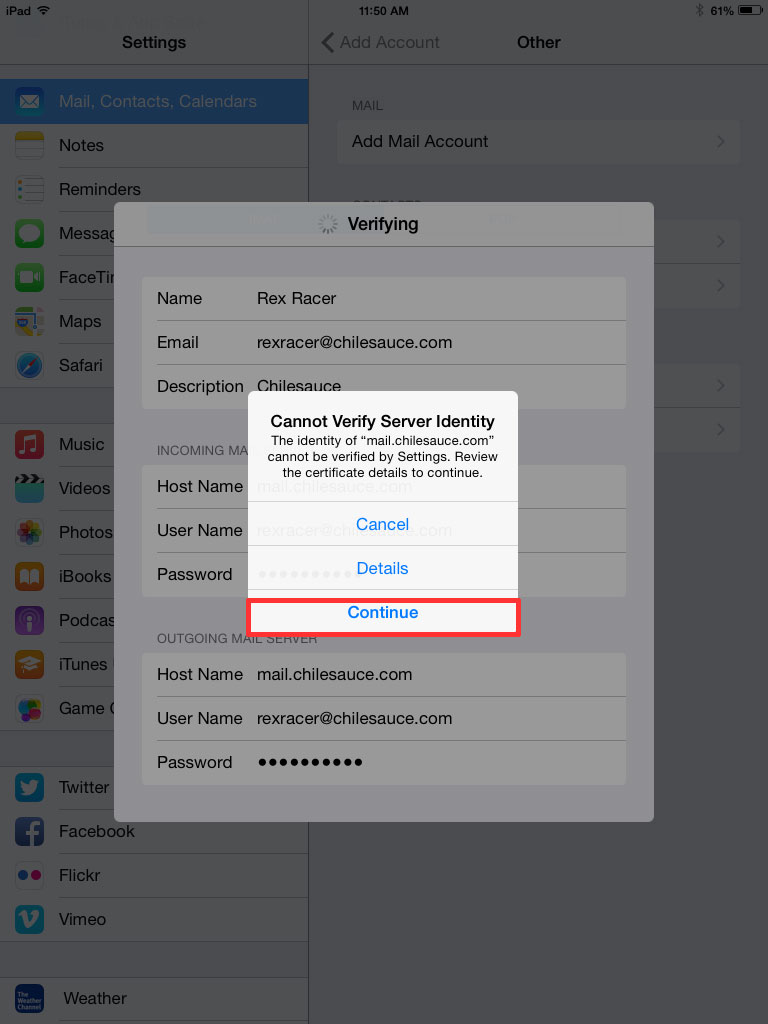
| 5. If you are presented with the following warning, “Cannot Verify Server Identity,” simply tap Continue. You will see this warning if you have not purchased and installed an SSL certificate for your domain name. If you wish to purchase and have us install an SSL certificate for you, please contact us. Otherwise, any time you encounter this warning, please tap Continue. |
 |
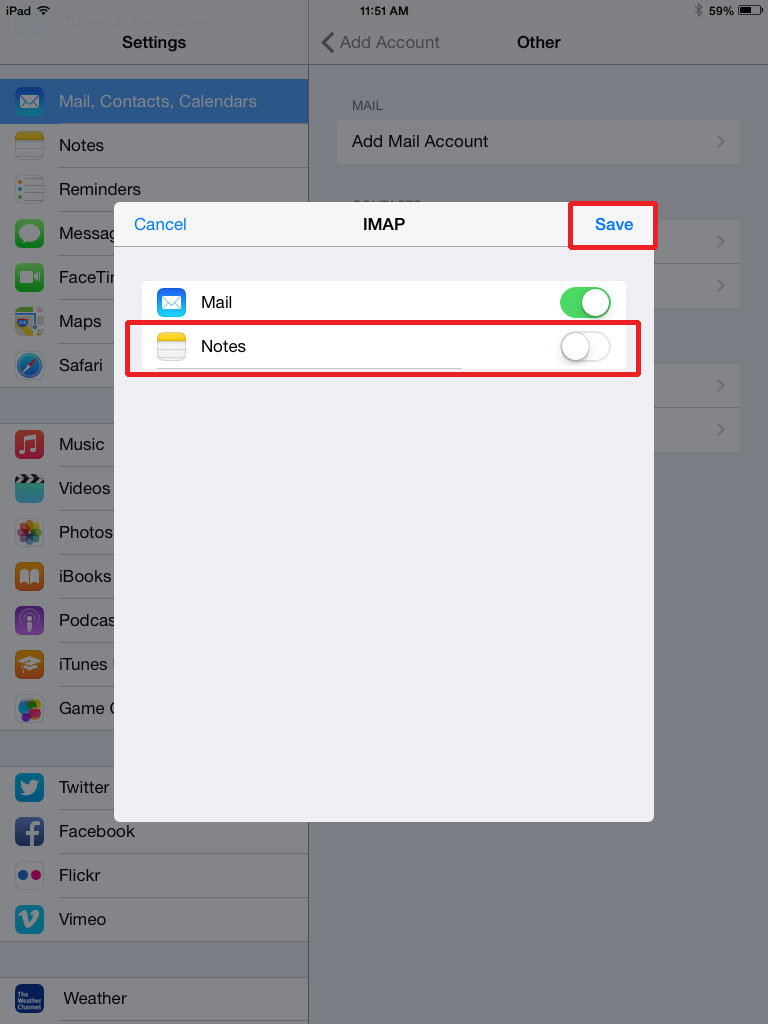
| 6. Turn off Notes and tap Save. |
 |
If you are using a cellular service, such as AT&T or Verizon to connect to the internet, please note that they may be blocking standard outbound mail ports, so you will need to contact their support to ask which ports are open for sending. If you can send mail while you’re connected to your home or office wi-fi, but cannot send while connected to a cellular service, this is a strong indication that the commonly used ports for sending are being blocked by the provider. Please contact your carrier to ask for help in this case.