Open Outlook 2013 and follow the steps listed below.
- Click the File tab.
- Click Add Account.
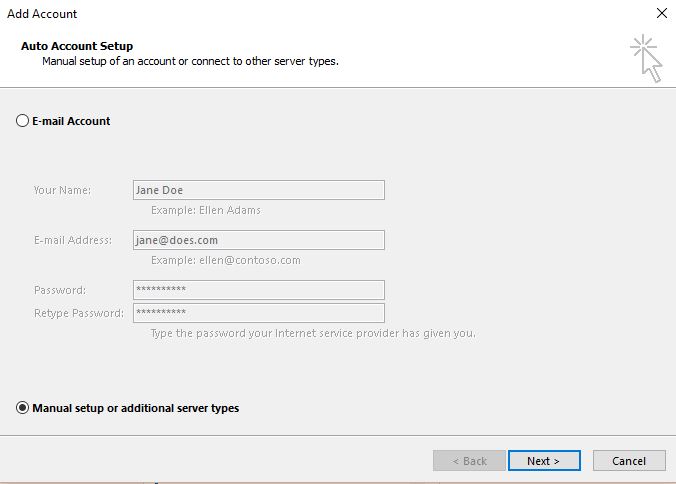
- Enter your email account information as demonstrated in the example below.
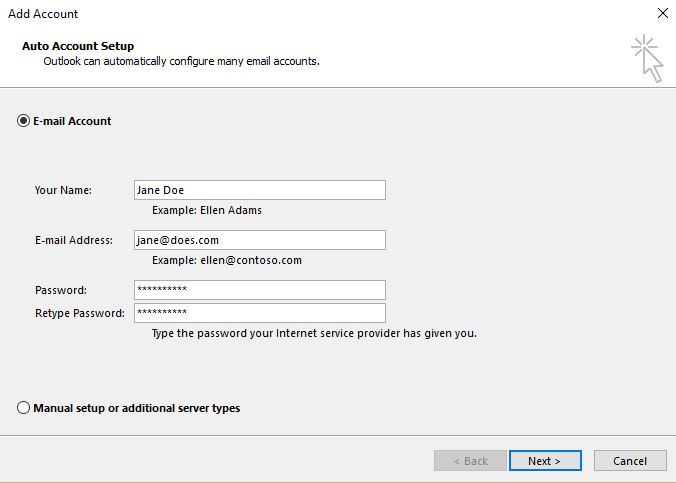
- Then click Manual setup or additional server types and click the Next button.
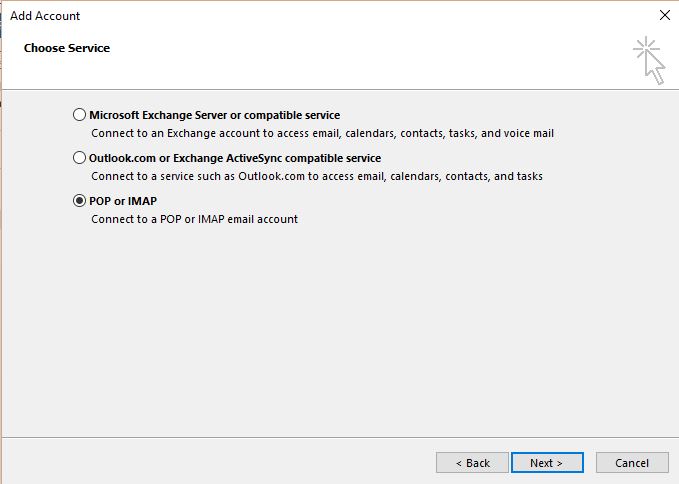
- Click POP or IMAP and click Next.
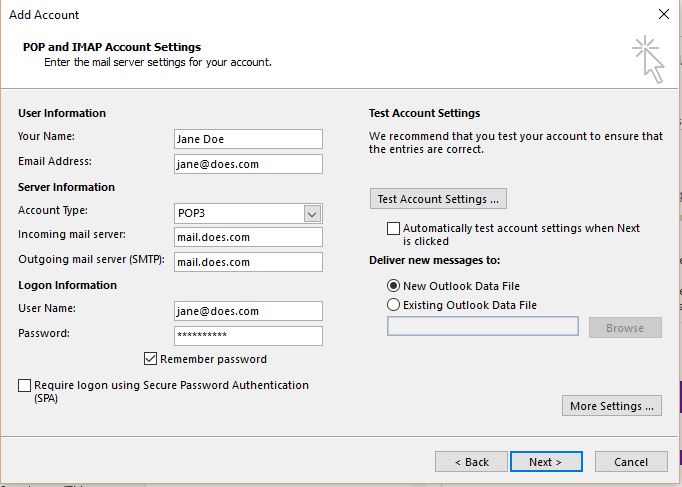
- Fill in the information as it pertains to your account. Your incoming and outgoing mail server names are always "mail.yoursite.com," replacing yoursite.com with your actual domain name. Uncheck Test Account Settings here and then click on the More Settings button.
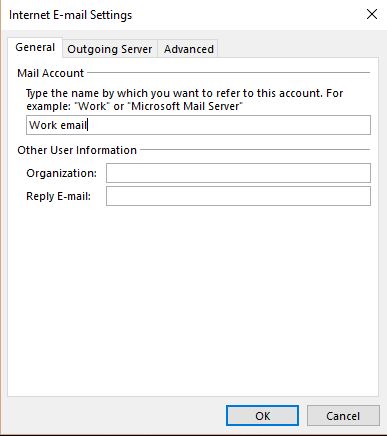
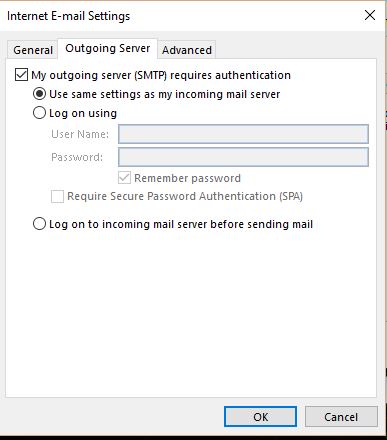
- Under the General tab, type in a description of this account and then click the Outgoing Server tab.
- Check the box next to My outgoing server (SMTP) requires authentication, and make sure Use same settings as my incoming mail server is checked. Click the?Advanced?tab next.
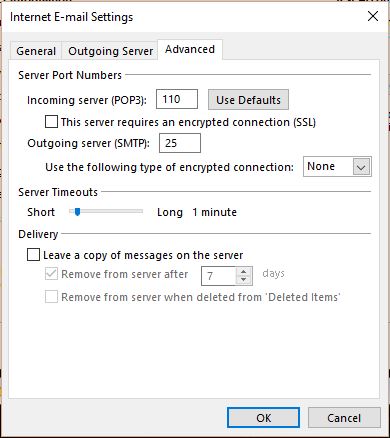
- Uncheck Leave a copy of messages on the server. This will prevent your disk quota from being reached, and give you full control over your email (to back up or archive). If you need to leave mail on the server because you check your email from more than one device, you may check this box. Remove from server in a reasonable amount of time, such as 3-7 days. ?Click OK.
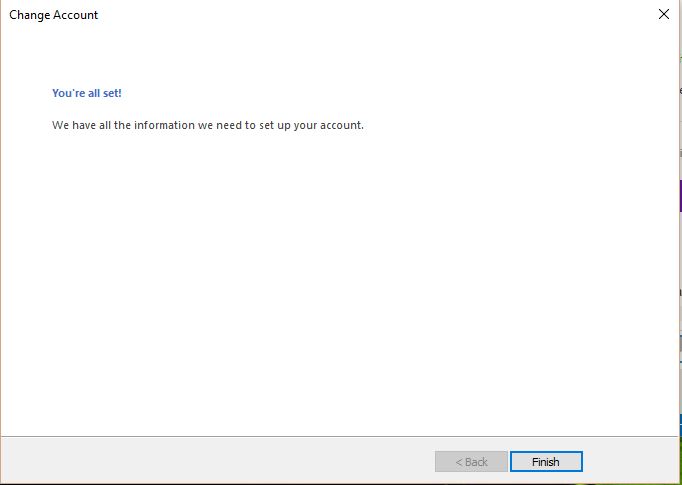
- Click the Finish button.