Windows Live Mail
ConnectNC no longer supports any version of Windows Live Mail. It has been discontinued by Microsoft. Windows Essentials 2012 suite reached end of support on January 10, 2017.
There are two things you can do if you want to try to continue to use Live Mail:
- We will make a best effort to fix your problem, by remoting in to your computer for $65 per incident (not to exceed 45 minutes).
- Contact Microsoft by going to https://support.microsoft.com/en-us/contactus/
Also see
https://support.microsoft.com/en-us/help/18614
We recommend that you use Microsoft Outlook or Mozilla Thunderbird.
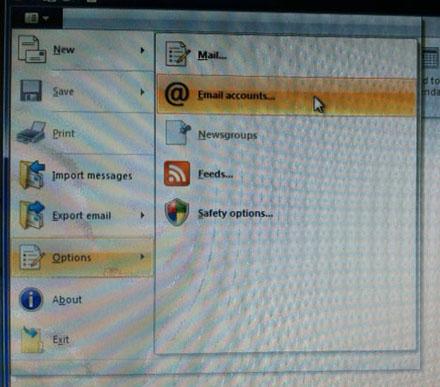
| Step 1: Find "Options" and choose "Email accounts." |
 |
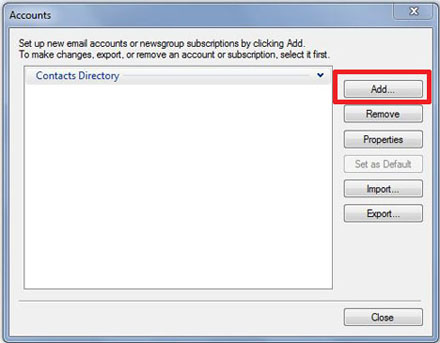
| Step 2: Click the "Add" button. |
 |
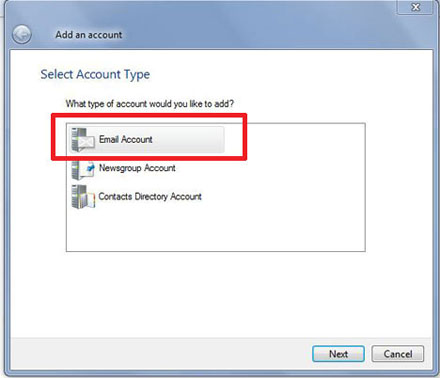
| Step 3: Select "Email Account." |
 |
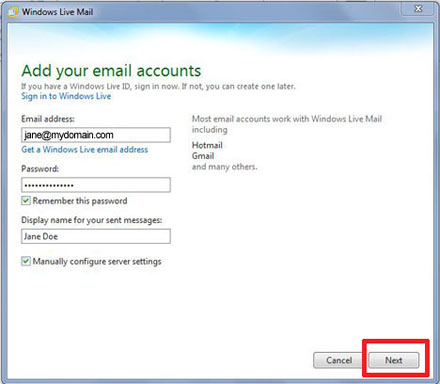
| Step 4: Type in your email address and your email account password. Check the box next to "Remember this password." Type in your full name and the check the box next to "Manually configure server settings." Click on "Next." |
 |
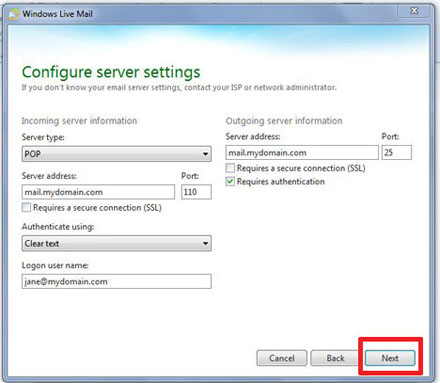
| Step 5: Choose "POP" as the server type. The server address in both the case of incoming and outgoing server is mail.somedomain.com, where you've replaced "somedomain.com" with your actual domain name. Refer to the image to the right for the proper settings.? If your screen matches this one, you should be ok. Be sure to change the server address though! |
 |
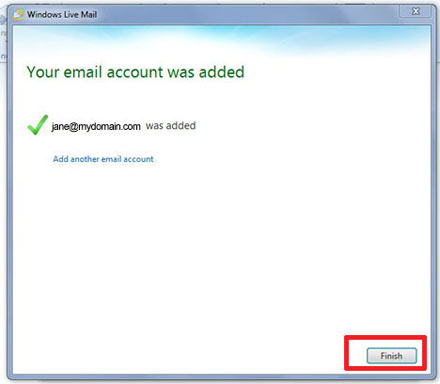
| Step 6: Once your email account is added, click the "Finish" button. You're done! |
 |
