Configuring Thunderbird for ConnectNC Mail

These instructions were created on a Mac.  the configuration may look a little different if you’re using the Windows operating system.

After downloading and installing Thunderbird, run the application and follow these directions.

1. Click on “Edit” and then select “Properties.” Click Edit and Properties
2. Click “Account Actions” and choose “Add Mail Account.” Add Mail Account
3. Enter the information that pertains to your account.  Type in your first name and your last name.  Type in your email address, which is in the format youraccount@connectnc.net.  Enter your password and make sure “Remember password” is checked.  Then click on “Continue.” Enter Your Information
4. Thunderbird will try to configure the mail server settings automatically.  When it finishes, click on the “Edit” button. Edit your Settings
5. Where you see the incoming and outgoing mail server settings, change each to mail.connectnc.com.

Make sure the incoming server type is POP.

The POP port number must be 110.

The SMTP server port must be 25.

Click on “Re-test Configuration” and then Click the “Create Account” button.

Edit your settings

Editing Windows Live Mail Outgoing Mail Server Settings

This article will help answer questions about configuring Windows Live Mail for use with ConnectNC Internet Service.  If you’re attempting to send mail and have errors, please review this article for help.

Here are the steps you can follow to edit the outgoing server information used by Windows Live Mail.Windows Live Mail Properties

1) In Windows Live Mail, click on “Tools” and then “Accounts” from the menu at the top.

2) Click once on the account you need to configure.

3) Click “Properties.”

4) Click the “Servers” tab.

5) Make sure your mail server address is mail.connectnc.com.

6) Place a check in the box next to “Outgoing mail requires authentication.”

7) Click the “Advanced” button and make sure you’re just using the same information as the incoming mail server.

8) Make sure the there’s no check next to the box that has the server require a secure connection.

9) Uncheck “Leave a copy on the server.”

10) Save your settings and then send a test message.

Cape Fear Timber

Cape Fear Timber

Cape Fear TimberCape Fear Timber Company

  • New design using WordPress
  • Easy to update images and text
  • Separate home page design with featured areas

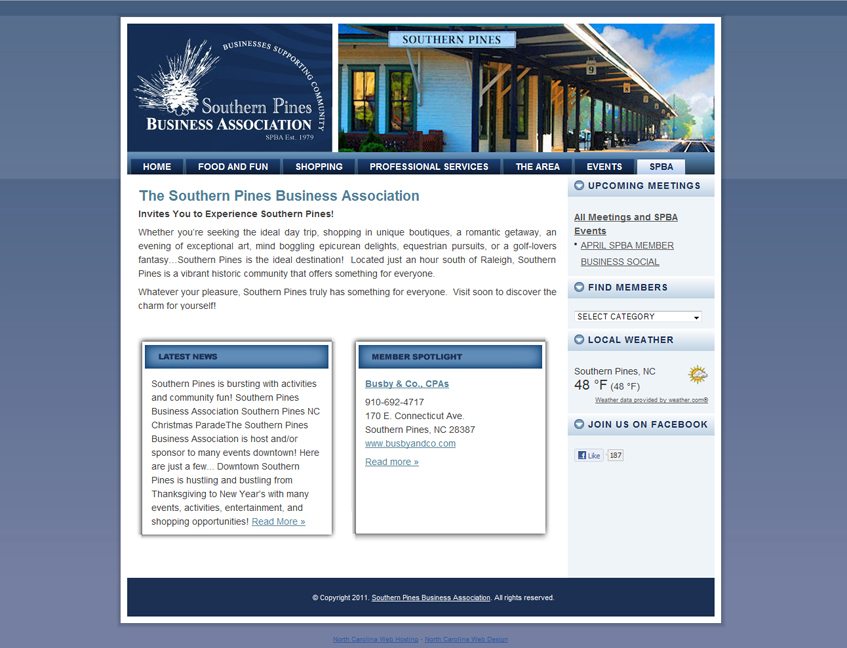
SPBA

Southern Pines Business Association.  Conversion from a ColdFusion CMS to easy to use WordPress CMS.  Includes a business directory of Southern Pines, NC business members.

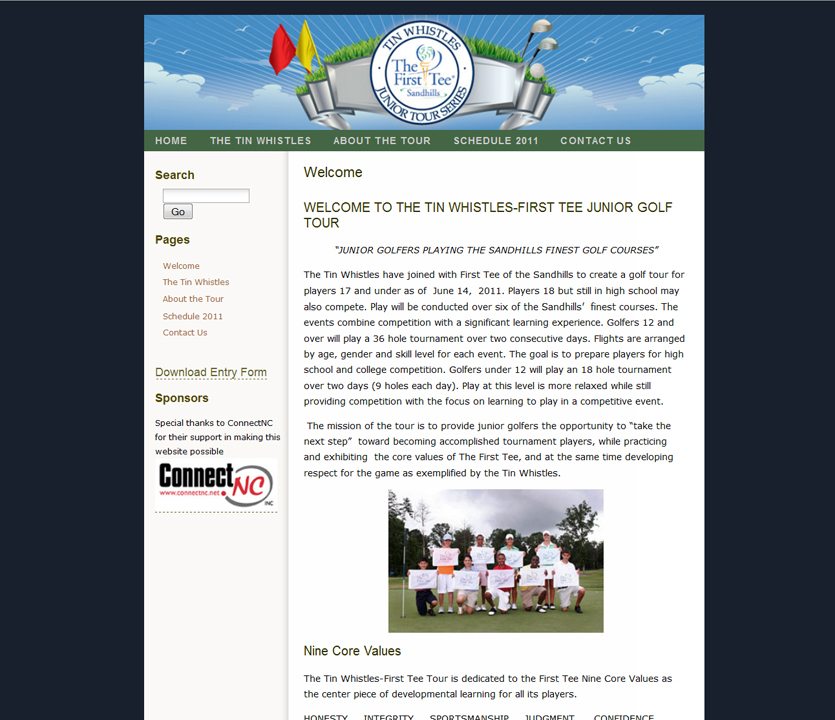
Tin Whistles Junior Golf Tournament

Tin Whistles

Tin Whistles Junior Golf TournamentTin Whistles Junior Golf Tournament

WordPress Web Design and Hosting allows the customer to make easy updates to text and images.

Changing your Windows PC Dialup Configuration

Windows 95, ME and 98 (not supported)

  • In Internet Explorer, click on Tools from the menu at the top
  • Click on Internet Options
  • Click Connections
  • Click on the correct connection and then click the Settings button
    Here’s where you should change your username and the telephone number.
  • Save

Windows XP

  • Go to the Control Panel
  • Click View Network Connections
  • Right click on the appropriate connection icon
  • Choose Properties
  • Change the phone number and username
  • Save

Windows 7 and Vista

  • Starting on the Windows VISTA Desktop Right Click on “Network” and Left Click on “Properties”
  • When the Network And Sharing Center pops up click on the left hand side where it says “Manage Network Connections”
  • Find your Dialup Icon open it.
  • Change the phone number to the phone number you received in your e-mail and make sure your username suffix is @connectnc.net.